Master Peanut Brittle: Expert Tips for a Sweet, Crunchy Treat
There's a special kind of magic in a batch of homemade
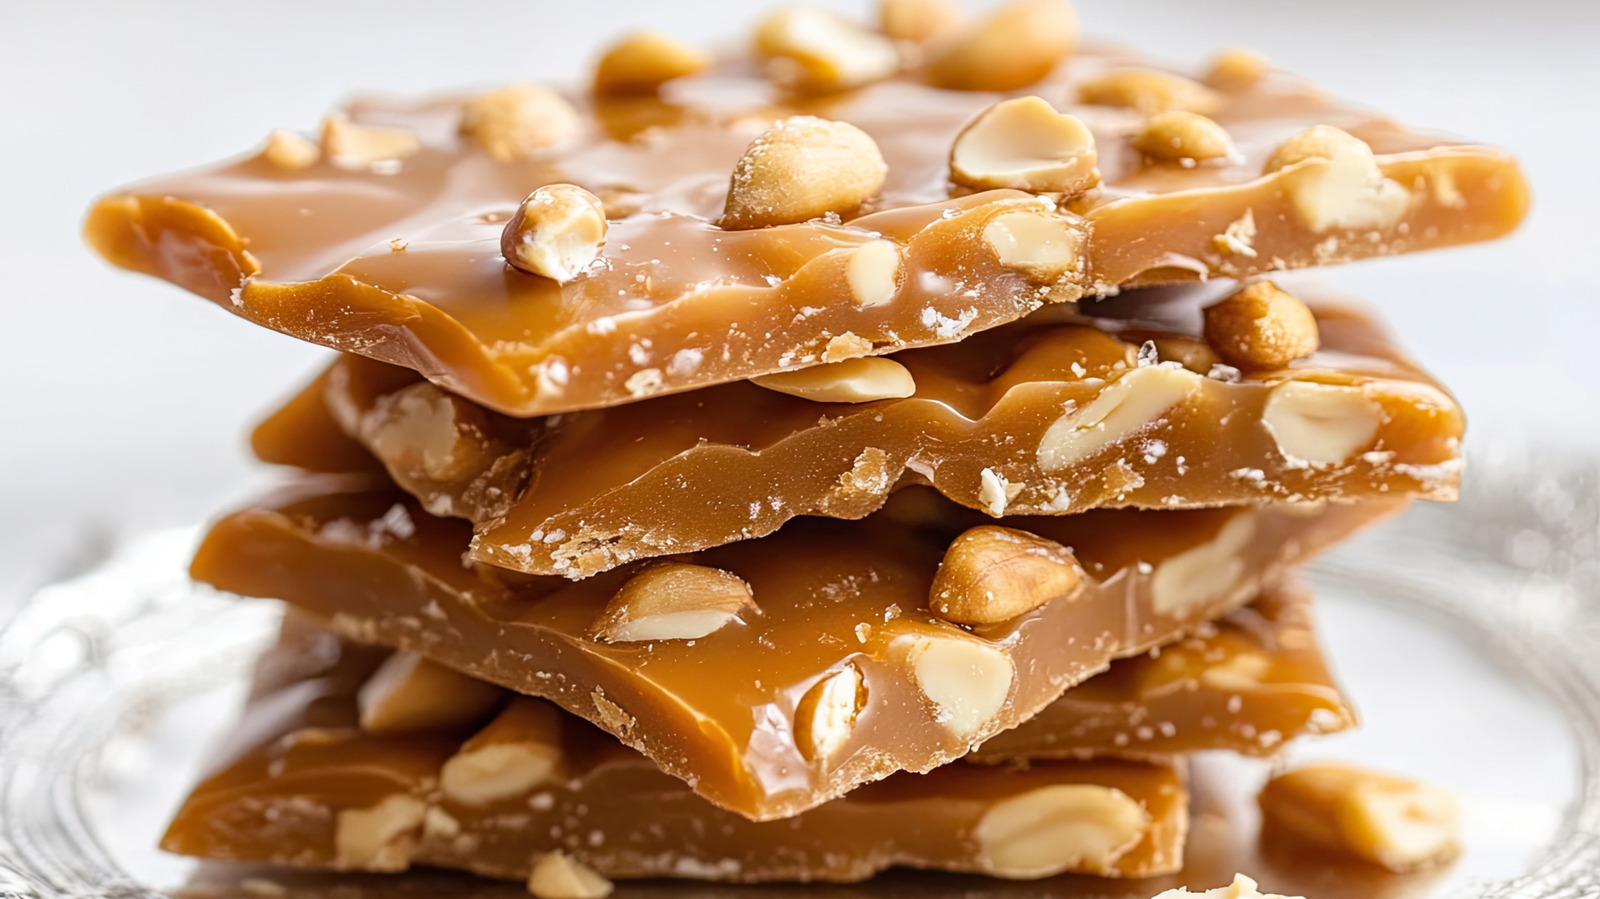
peanut brittle. That perfect balance of sweet and salty, the satisfying *snap* as you break off a piece, and the rich, nutty flavor that lingers on your palate – it’s a timeless confection that evokes nostalgia and brings smiles. While many might consider candy-making intimidating, mastering
old-fashioned peanut brittle is an achievable feat with the right knowledge and a dash of confidence. This guide will arm you with expert tips, insights, and a deep understanding to transform simple ingredients into a truly spectacular sweet, crunchy treat that wows everyone, every time.
The Foundation: Ingredients, Equipment, and the Golden Rule of Prep
Before you even think about turning on the stove, success with
peanut brittle hinges on three critical elements: quality ingredients, the right tools, and meticulous preparation.
Ingredients that Shine
- Peanuts: The star of the show! Many aficionados, like culinary producer Nicole McLaughlin, prefer raw peanuts with their skins on. This choice contributes to a darker, richer flavor in the final brittle. While roasted peanuts can work, raw peanuts allow you to control the toasting process precisely within the hot sugar mixture. The classic choice is typically Spanish peanuts, known for their smaller size and robust flavor, but any raw peanut will do.
- Sugar: Granulated sugar is standard. The purity of the sugar is crucial for a clear, crisp brittle. Some traditional recipes opt for no corn syrup, allowing the true flavor of the sugar and peanuts to shine through, creating an authentic old-fashioned taste and texture.
- Butter: Essential for flavor, richness, and helping to prevent crystallization. Unsalted butter is often preferred, allowing you to control the overall saltiness.
- Salt: Crucial for balancing the intense sweetness and enhancing the nutty flavor of the peanuts. A fine-grained salt will distribute evenly.
- Baking Soda (Optional but Recommended): Though not explicitly mentioned in all basic recipes, a touch of baking soda (added at the very end) reacts with the hot sugar syrup to create tiny carbon dioxide bubbles. These bubbles give the brittle its characteristic airy, light, and tender texture, contributing to those desirable "pockets of bubbles around the edges" Nicole McLaughlin looks for as a sign of perfection. Without it, your brittle might be denser and harder.
Essential Equipment
- Heavy-Bottomed Saucepan: A sturdy, heavy-bottomed pot ensures even heat distribution, preventing hot spots that can scorch the sugar. A minimum of a 3-quart size is recommended to prevent boil-overs.
- Candy Thermometer: This is your most reliable friend in candy making. Precision is paramount, and a good candy thermometer will guide you to the exact hard crack stage (typically 300-310°F or 149-154°C).
- Prepared Baking Sheet/Surface: You'll need a large, rimmed baking sheet lined with a silicone baking mat or parchment paper, lightly greased with butter or cooking spray. Alternatively, a clean, oiled countertop can work.
- Heat-Resistant Spatula or Wooden Spoon: For stirring.
- Oven Mitts: Absolute non-negotiable! Molten sugar is incredibly hot and sticky, causing severe burns. Protect your hands.
The Golden Rule: Mise en Place
This is arguably the single most important tip for mastering
peanut brittle. As Nicole McLaughlin warns, "There's no time for dilly-dallying." Candy making, especially brittle, moves quickly once the sugar begins to cook.
- Measure Everything: Have all your ingredients – peanuts, sugar, butter, salt, baking soda – measured out into separate bowls and within arm's reach.
- Prep Your Surface: Ensure your baking sheet is lined and greased, ready for the molten brittle.
- Clear Your Workspace: Remove any distractions or clutter. When the candy is ready, you need to react instantly and smoothly. Searching for an ingredient or clearing space while your sugar is burning is a recipe for disaster.
Mastering the Cook: Temperature, Texture, and Timing
The heart of
peanut brittle lies in cooking sugar to the precise stage. This is where patience, observation, and a reliable thermometer become your most valuable assets.
The Sugar's Journey to Hard Crack
You'll be cooking a sugar syrup (typically sugar and water, sometimes with butter incorporated early) to the "hard crack" stage. This means the sugar concentration is at its highest, and when cooled, it will be extremely hard and brittle.
- Slow and Steady Heat: Begin by dissolving the sugar over medium-low heat, stirring occasionally. Once dissolved, increase the heat to medium-high and bring the mixture to a boil. Resist the urge to stir vigorously once boiling, as this can encourage crystallization.
- Candy Thermometer is Key: Place your candy thermometer in the syrup, ensuring it doesn't touch the bottom of the pan. Watch the temperature climb. For hard crack, you're aiming for 300-310°F (149-154°C).
- The Cold Water Test (if no thermometer): If you don't have a thermometer, you can use the traditional cold water test, but it requires practice. In Step 5 of the cooking process, drop a small amount of the boiling syrup into a bowl of very cold water. If it forms hard, brittle threads that snap easily when removed from the water, it's ready. If it's still pliable, keep cooking.
The Critical Final Steps
Once the syrup reaches the hard crack stage, speed and precision are paramount:
- Add Peanuts: Immediately stir in your raw peanuts. Continue to stir constantly. The residual heat of the syrup will begin to toast the peanuts, deepening their flavor.
- Butter and Baking Soda: As soon as the peanuts are well incorporated, stir in the butter until melted, then quickly add the baking soda. This is the moment when the magic happens! The mixture will foam up, expanding and creating those crucial air pockets that lead to a light, tender brittle.
- The Pour: With extreme caution and wearing oven gloves, immediately pour the hot brittle mixture onto your prepared baking sheet. Using an oiled spatula or the back of a spoon, quickly spread it into a thin, even layer. Work fast, as it will begin to set rapidly.
- Cooling: Allow the brittle to cool completely at room temperature. Do not be tempted to touch or break it while warm, as it needs to fully harden. Once completely cool, it will be firm and easy to snap into irregular pieces.
Environmental Factors & Common Pitfalls to Avoid
Even with perfect ingredients and technique, external factors can sabotage your efforts. Understanding these can save you a lot of frustration.
Humidity: The Brittle's Enemy
Sugar is hygroscopic, meaning it readily absorbs moisture from the air.
- Why it's Bad: Making peanut brittle on a humid day will cause the candy to attract moisture, making it sticky, chewy, and less crisp. Humidity also slows the cooling process, increasing the likelihood of unwanted sugar crystals forming.
- The Solution: The best advice is to avoid making brittle on high-humidity days. Opt for a dry, low-humidity day. If you live in a perpetually humid climate, consider running a dehumidifier in your kitchen or waiting for the driest possible conditions.
Common Mistakes and How to Avoid Them
- Burning the Sugar: This is a consequence of not having ingredients measured out and ready, or cooking too high/too fast. Once sugar burns, it imparts a bitter, acrid taste to the entire batch, and there's no way to salvage it. Discard and start fresh.
- Crystallization: This occurs when sugar crystals form in the syrup, making it grainy instead of smooth. To prevent this:
- Ensure all sugar is dissolved before increasing heat.
- Avoid stirring vigorously once the syrup is boiling.
- Use a pastry brush dipped in water to wash down any sugar crystals that cling to the sides of the pan during cooking.
- Not Spreading Thin Enough: If the brittle is too thick, it won't have that signature delicate crunch and might be too hard to break. Work quickly to spread it as thinly as possible.
Storing Your Sweet Success & Creative Variations
Once your
peanut brittle is perfectly cool and broken into tempting pieces, proper storage ensures it retains its delightful crunch.
Optimal Storage
- Airtight Container: Always store peanut brittle in an airtight container at room temperature. This protects it from moisture and air, which are its biggest enemies.
- No Refrigeration: Do NOT refrigerate peanut brittle. The moisture and humidity within the refrigerator will cause the candy to soften and become sticky, losing its crisp texture.
- Shelf Life: Properly stored, homemade peanut brittle will last one to two months, making it an ideal candidate for advance preparation, especially for holiday gifting.
Freezing for Longer Enjoyment
Yes, you can freeze
peanut brittle for extended storage, up to three months!
- Method: Place cooled brittle pieces in zip-top freezer bags or sturdy freezer-safe containers, ensuring as much air is removed as possible.
- Texture Alteration: Be aware that freezing might slightly alter the texture upon thawing, sometimes making it a touch chewier.
- Thawing: Thaw frozen brittle either overnight in the refrigerator or for a few hours on the counter at room temperature.
Creative Twists on a Classic
While peanuts make the classic, universally loved brittle, don't be afraid to experiment:
- Other Nuts: Cashews, almonds, pecans, or even a mixed nut brittle can be delicious variations. Toast them lightly before adding for deeper flavor.
- Seeds: Pumpkin seeds or sunflower seeds can offer a different texture and taste.
- Spices: A pinch of cinnamon, a dash of cayenne pepper for a spicy kick, or even a hint of cardamom can elevate the flavor profile.
- Flavor Extracts: A few drops of vanilla extract (added with the butter and baking soda) is classic, but almond extract or even a little bourbon can add intriguing dimensions.
Mastering
peanut brittle is a rewarding culinary journey that combines scientific precision with creative flair. By understanding the critical role of preparation, temperature control, and environmental factors, you can consistently produce a homemade treat that is not just sweet and crunchy, but also a testament to your newfound confectionery skills. So, gather your ingredients, clear your counter, and get ready to create that "magic surprise" that will undoubtedly delight everyone who tastes it.